


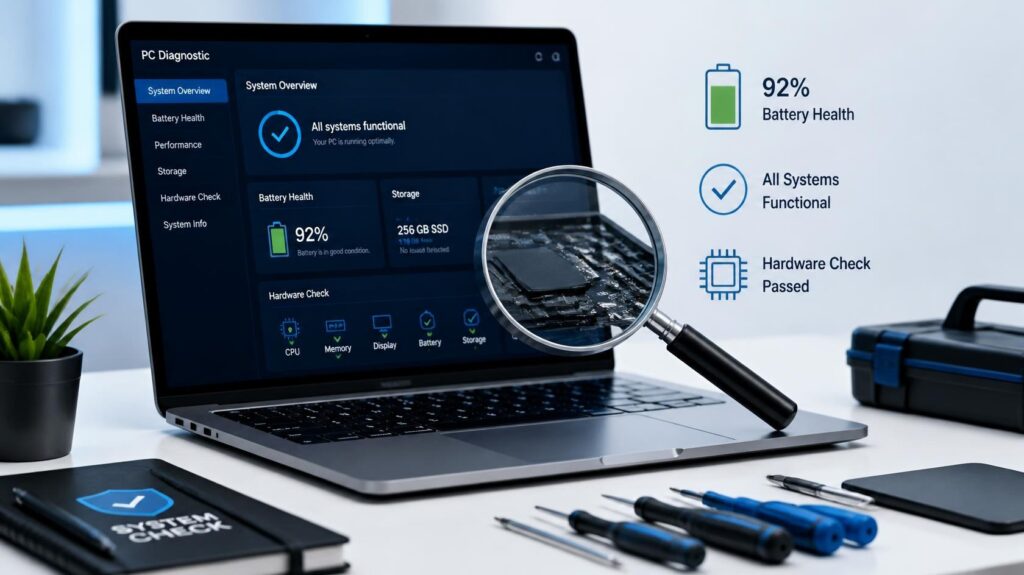
Following a comprehensive used laptop buying guide is the smartest way to get high-end specifications at a fraction of the original cost. However, navigating the secondhand market comes with risks—hidden motherboard repairs, degraded batteries, and failing storage drives are all too common.
To protect your hard-earned money, follow this practical used laptop buying guide featuring seven essential hardware and software diagnostic steps you must perform before completing any purchase.
1. Physical Inspection & Chassis Integrity
Before powering on the machine, perform a thorough physical inspection of the laptop’s body.
- Chassis & Hinges: Open and close the display lid three to four times. The movement should feel smooth with consistent resistance, and there should be no popping sounds or structural gaps along the hinge casing.
- Missing Screws & Gaps: Inspect the bottom panel carefully. Striped screw heads or missing screws strongly indicate that the laptop has been opened by local repair shops.
- Internal Clips: Apply gentle pressure along the edges of the palm rest and bottom casing to verify that all internal chassis clips are intact and locked securely.
2. Battery Health & Cycle Count Analysis
Sellers often claim battery life lasts “2 to 3 hours,” but vendor promises should never replace raw diagnostic data in any used laptop buying guide.
How to Generate a Battery Report in Windows:
You don’t need third-party software to verify battery condition. Windows has a built-in battery diagnostic tool:
- Search for
cmdin the Start Menu, right-click, and select Run as Administrator. - Type the command
powercfg /batteryreportand press Enter. - Copy the generated HTML file path and open it in any web browser.
- Compare the DESIGN CAPACITY with the FULL CHARGE CAPACITY. If the current full charge capacity has dropped by more than 30% from its original design capacity, you will need a battery replacement soon.
3. Display Quality Dead Pixels & Backlight Bleed
The display panel is one of the most expensive components to replace. Minor cosmetic lid scratches can be ignored, but display defects are immediate red flags.
- Dead Pixel Test: Open full-screen solid background colors (White, Black, Red, Green, and Blue) in a web browser. Search for static black or bright dots across the panel.
- Backlight Bleed Test: View a completely black image on full screen in a dim room. If uneven light leaks heavily from the screen edges, the panel has sustained pressure damage
4. Storage Health Verification (SSD & HDD)
A critical step in any used laptop buying guide is checking the remaining lifespan of the storage drive. Load a portable version of CrystalDiskInfo onto a USB flash drive and run it on the target laptop:
- Health Status: Look for a status rating of “Good 100%” or at least “Good 85%+”.
- Total Power-On Hours: This metric reveals the actual cumulative time the laptop has been powered on and operated.
5. Keyboard, Trackpad, and I/O Port Testing
Verify physical input methods and port connectivity quickly without installing extra drivers:
- Keyboard: Open
keyboardtester.comin a browser and press every single key (including Function keys, Shift, and the spacebar) to confirm key registration. - Trackpad: Test multi-finger gestures, smooth cursor navigation, and tactile feedback on physical left/right click buttons.
- I/O Ports: Insert a USB flash drive into every available USB port to test data transfer. Test external displays via the HDMI port and test audio playback using the 3.5mm headphone jack.
6. Thermal Performance & Stress Testing
Overheating due to dried thermal paste or failing cooling fans is a frequent issue in pre-owned laptops.
Play a 4K video stream for 10 to 15 minutes or open multiple intensive browser tabs to place the CPU under load:
- Feel the exhaust vents to ensure air is being pushed out efficiently.
- Check if the bottom panel becomes excessively hot to the touch.
- Listen for high-pitched grinding noises from the cooling fan, which indicates worn bearings.
7. Charger Verification & Serial Number Match
Conclude your diagnostic routine by inspecting power delivery and system identity:
- Genuine Power Adapter: Cheap, third-party replacement chargers deliver unstable voltage that can damage motherboard power ICs. Always demand an original OEM charger (Dell, HP, Lenovo, etc.).
- Serial Number Cross-Check: Verify that the serial number printed on the chassis sticker matches the internal system BIOS readout by running
wmic bios get serialnumberin the Command Prompt.
Final Verdict
Buying a used or refurbished laptop is safe and practical when approached systematically. Always ask the seller or shop owner for at least a 3 to 7-day testing warranty so you can run extended battery discharge cycles at home. If you are struggling with missing device drivers after resetting a second-hand PC, check our guide on how to install missing drivers manually on Solutionodex.