


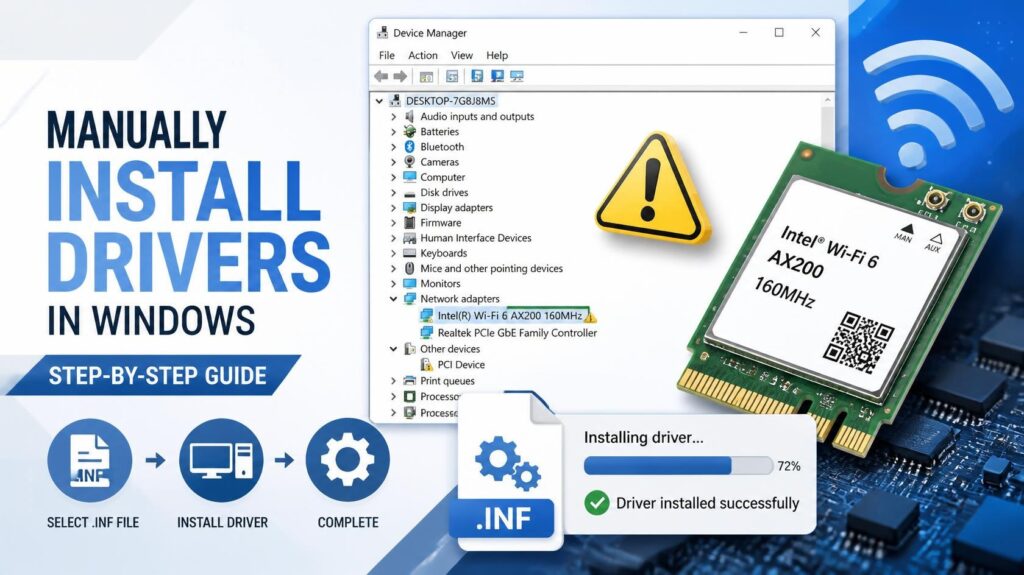
Learning how to install missing drivers manually on Windows is the most reliable way to fix unresponsive hardware, unknown devices, and installer wizard errors. Have you ever reinstalled Windows or noticed that your laptop’s Wi-Fi, audio, or touchpad suddenly stopped working? When you open Device Manager, you are often greeted by a frustrating yellow triangle warning icon labeled “Unknown Device.”
Most users try running a standard .exe setup file, but often it fails, throws an error, or states that the system does not meet minimum requirements. The secret to fixing this isn’t running installer wizards—it is knowing how to install missing drivers manually directly through Windows Device Manager using raw .inf configuration files.
Why You Need to Install Missing Drivers Manually
When hardware manufacturers package drivers, they wrap them inside executable setup files (.exe). However, when Windows fails to detect hardware automatically, these installers often crash or fail to locate the physical component. Here is why learning to install missing drivers manually is the ultimate fix:
- Bypasses Installer Errors: Direct
.inffile installation skips setup wizard errors and forces Windows to recognize the device. - Fixes Legacy & Unsupported Hardware: Older laptops often lack modern
.exeinstallers for Windows 10 or Windows 11. - Eliminates Bloatware: You install only the essential driver file without heavy background software utilities.
- Performance Boost: Keeping your chipset and hardware drivers updated via Device Manager ensures you get smooth system performance.
Step 1 Extract the Driver Files to Locate the Secret .inf File
Before you can install missing drivers manually, you must understand how Windows reads driver packages. Windows does not treat .exe files as drivers; it relies on .inf (Setup Information) files.
- Download your hardware driver package from the manufacturer’s official website (HP, Dell, Lenovo, Intel, AMD, etc.).
- If the downloaded file is a
.zipor.rararchive, right-click and extract it to a folder. - If the download is an
.exefile, do not double-click it to run it. Instead, right-click the.exefile, select 7-Zip or WinRAR, and choose Extract to [folder name]. - Open the extracted folder and look inside. You will see several system files—the critical one ends with the
.infextension (e.g.,netwew08.inforoem12.inf).
Key Takeaway: The
.inffile is the actual core driver file that tells Windows exactly how to communicate with your hardware.
Step 2 Open Device Manager and Select Legacy Hardware
Now that you have extracted the raw .inf file, it is time to open Windows Device Manager and start the manual installation process.
- Press
Windows Key + Xon your keyboard and select Device Manager (or pressWin + R, typedevmgmt.msc, and hit Enter). - Look through the list for any hardware marked with a Yellow Triangle Warning Icon or listed under Other Devices.
- Click on the device name to highlight it.
- If the device does not show up in the list at all, click on your computer’s name at the very top of the Device Manager window, navigate to the top menu bar, click Action, and select Add legacy hardware.
Step 3 Browse Custom Options to Install Missing Drivers Manually
Once you are in the manual update wizard, avoid letting Windows search online automatically, as it will likely fail to find local extracted files.
- Right-click the missing device and select Update driver.
- Click on the second option: “Browse my computer for drivers” (Locate and install a driver manually).
- Do not simply select the folder path here. Instead, click “Let me pick from a list of available drivers on my computer” at the bottom.
- Click Next, then click the Have Disk… button in the bottom right corner.
Step 4 Select the Raw .inf File and Complete Installation
This is where the magic happens. By selecting “Have Disk,” you bypass Windows’ generic search and tell it precisely which file to inject into the system.
- In the Install From Disk pop-up window, click Browse…
- Navigate to the folder where you extracted your driver files in Step 1.
- Select the
.inffile you found earlier and click Open. - Click OK on the Have Disk window. You will now see the exact name of your hardware appear in the list.
- Select your device, click Next, and Windows will immediately copy the files to install missing drivers manually.
Once completed, the yellow warning triangle in Device Manager will disappear, and your hardware will instantly start functioning!
Pro-Tip How to Find Driver .inf Files Using Hardware IDs
What if Device Manager only displays “Unknown Device” and you don’t even know what driver to download? You can find the exact component name using its Hardware ID:
- Right-click the Unknown Device in Device Manager and select Properties.
- Go to the Details tab.
- Click the Property drop-down menu and select Hardware Ids.
- Right-click the top value (e.g.,
PCI\VEN_8086&DEV_31DC...) and copy it. - Paste this code into Google to identify the exact manufacturer and model (e.g., Intel Wireless AC 9560), download the extracted package, and follow the steps above to install missing drivers manually.
Conclusion
Learning to install missing drivers manually doesn’t require complex software utilities or sketchy third-party installer apps. By extracting setup packages down to their core .inf files and using Device Manager’s manual browse tools, you can resolve virtually any unknown hardware issue on Windows.
While searching for hardware IDs online, make sure to use trusted resources to keep your system data private. If you want to protect your privacy and personal documents online, check our guide on how to stop AI photo scanning on your Android and iOS devices on Solutionodex.